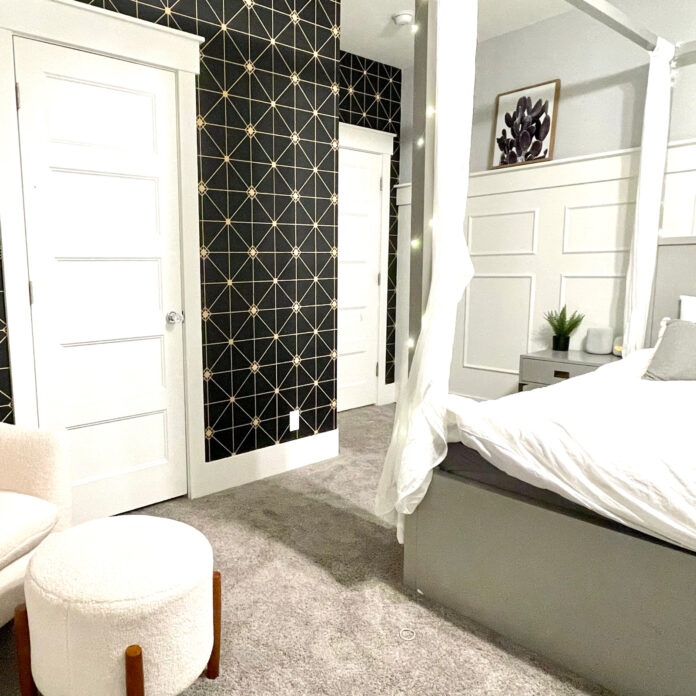
Learn how to install peel and stick wallpaper with these easy steps to add aesthetic to your home decor. If you want to know how to install peel and stick wallpaper, keep reading this complete guide.
What Is Peel-and-Stick Wallpaper?
Peel-and-stick wallpaper is very similar to traditional wallpaper, with the main difference being that it has a layer of self-adhesive on one side, which allows it to be easily attached to the wall without the need for glue or paste.
The adhesive helps to hold securely to the wall surface, but you can easily remove peel and stick wallpapers, without damaging or leaving any residue.
This makes peel-and-stick wallpaper a convenient and temporary decorating solution for homeowners looking to update a room quickly or for renters who want to personalize their living space without making any permanent changes.
Its versatility and ease of use make peel-and-stick wallpaper an attractive option for anyone looking to add a touch of style and personality to their home.
Pro Tip: Install a Carpet that match your wallpaper to enhance the decor.
Peel-and-Stick Wallpaper – PROS
There are several benefits to using peel-and-stick wallpaper, including:
- Customizable designs and textures: With peel-and-stick wallpaper, you have a wide range of designs and textures to choose from, including classic shiplap, murals, and trendy patterns. You can easily change your wallpaper as often as you like, making it a more cost-effective option than traditional wallpaper.
- Easy installation and removal: Peel-and-stick wallpaper is very easy to install, requiring fewer tools and materials than traditional wallpaper. It is also easy to remove by pulling it off the wall from the bottom corner and continuing with steady, consistent pressure.
- Wall protection: Peel-and-stick wallpaper can protect your walls from minor wear and tear and natural fading from sunlight. It also does not damage paint or wall finishes when removed, making it a great option for renters.
Peel-and-Stick Wallpaper – CONS
There are also some potential drawbacks to using peel-and-stick wallpaper, including:
- Less durability compared to traditional wallpaper: Peel-and-stick wallpaper may not be as durable as traditional wallpaper, especially in moisture-rich environments like bathrooms or above kitchen countertops. It may also be more prone to tearing or peeling over time, especially if it is made of thinner material or if it is a low-cost option.
- Expensive compared to traditional wallpaper: Peel-and-stick wallpaper is generally more expensive than traditional wallpaper, although this may be offset by the fact that you can install it yourself without the need for professional labor.
- Specific wall requirements: Peel-and-stick wallpaper requires a clean, smooth wall surface for proper installation. If your walls have drywall texture, you may need to sand or scrape them down to create a smooth surface, which can be time-consuming.
How to Install Peel-and-Stick Wallpaper
Follow these installation steps:
Make Sure the Wall is Clean and Smooth
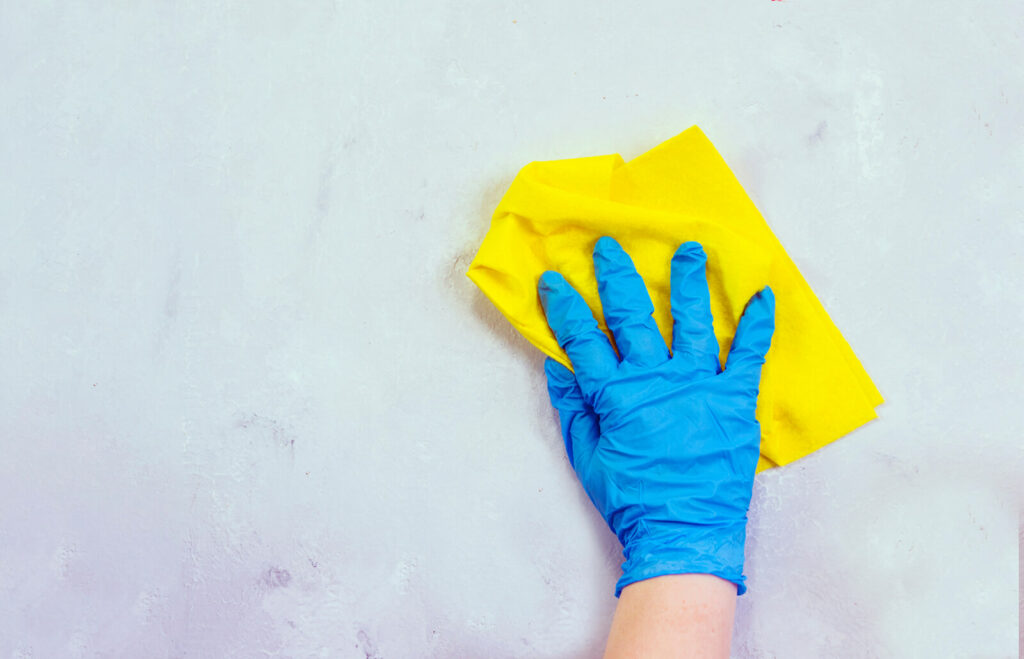
Before applying peel-and-stick wallpaper, it is important to make sure the wall surface is clean and smooth.
Any dust, texture, or imperfections on the wall can affect the adhesive’s ability to stick properly and may cause gaps or bubbles in the wallpaper.
To prevent these issues, clean the wall and remove any imperfections before applying the wallpaper.
Measure and Cut the Strips of Wallpaper
To ensure a seamless wallpaper installation:
- Use a measuring tape and a sharp utility knife to cut the wallpaper into strips that match the dimensions of your wall.
- Start by measuring the width of the wallpaper roll from the outer left edge to the desired length on the right side.
- Mark this spot lightly with a pen or pencil, then use the utility knife to cut the strip carefully.
- Repeat this process until you have enough strips to cover the entire wall.
Install the first strip of wallpaper in the top corner of the wall
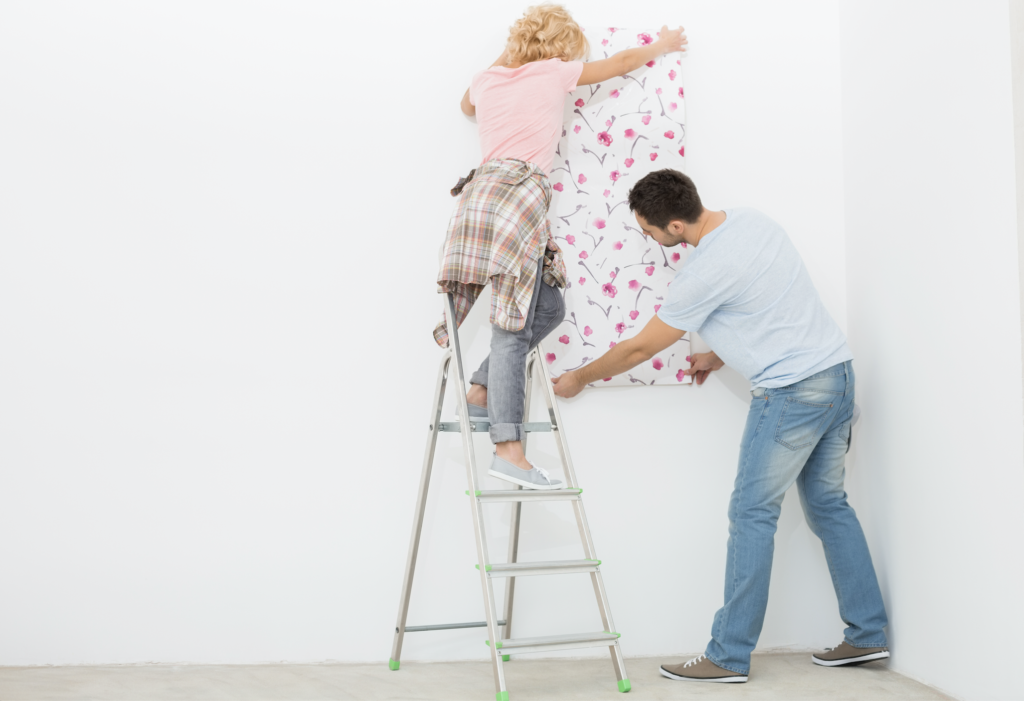
After applying the first strip of a wallpaper at the top of the wall, continue the process by aligning the next strip with the ceiling or molding and pressing it firmly against the previous strip.
This top-down method makes it easier to install the wallpaper, as the weight of the strip helps keep it in place while you secure the adhesive. Be sure to remove any excess material that overlaps adjacent walls or the baseboard.
WORTH CHECKING: How To Apply Peel And Stick Wallpaper? Step-by-Step Complete Guide
Make Sure to Burst any Air Bubble.
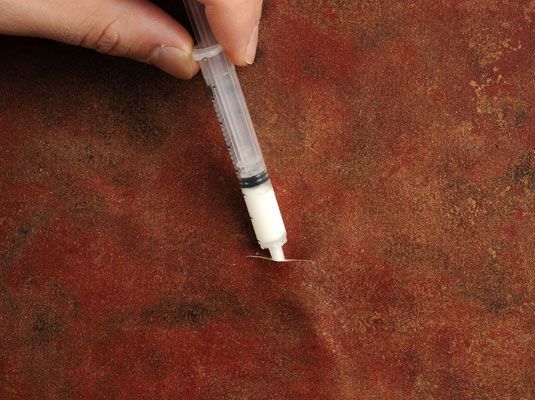
Use a squeegee or builder’s level to press down on the wallpaper to reduce air bubbles. Start at the top of the wallpaper and move towards the bottom, pressing down on the wallpaper to eliminate any air bubbles. Once you reach the bottom, start again at the top and move from left to right as you work your way down the wallpaper, continuing to press down on the wallpaper to remove any air bubbles.
ALSO CHECK: BEST HOME DECOR IDEAS

