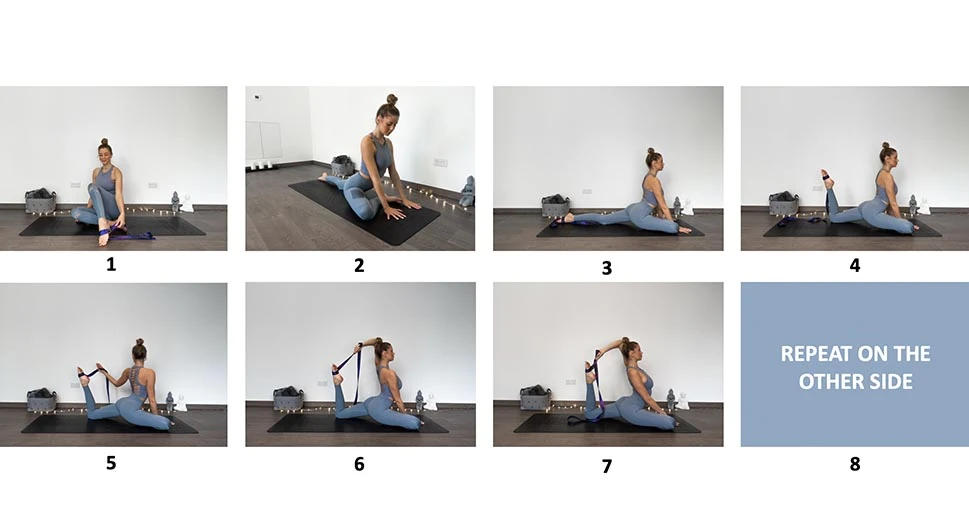
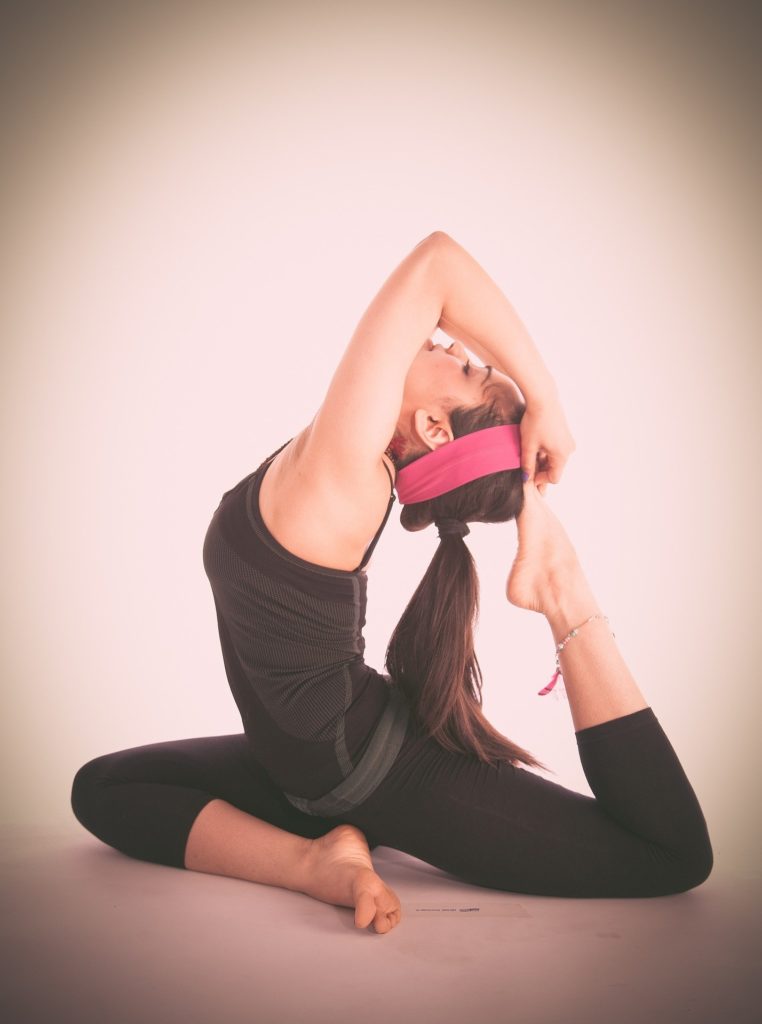
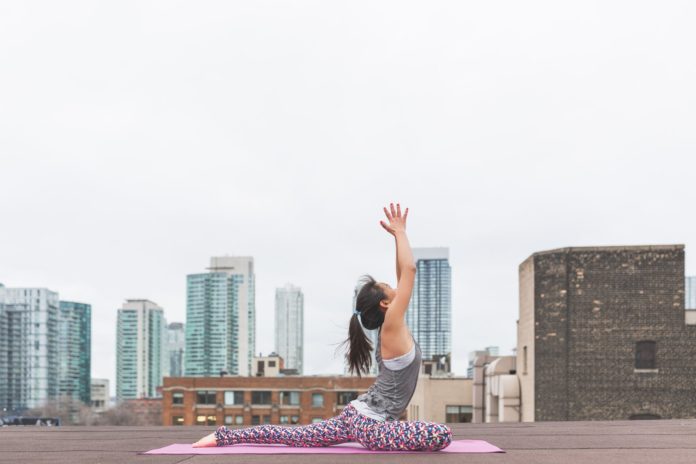
Pigeon Pose is also known as Eka Pada Rajakapotasana, which is a forward bend yoga pose or asana. There are three variations of Pigeon Pose, each of which is based on one another.
The Pigeon Pose version we are going to read here is the first stage and is the most common asana that you usually perform in your yoga classes.
The next version is Mermaid Pose, and last is One-Legged King Pigeon pose. You are required to first get comfortable in the former pose and then move to the later one.
READ MORE: What is the Best Time to do Yoga
Instructions: How To Make Correct Pigeon Pose
Different yoga instructors teach Pigeon Pose in their own way and have a little variation to make this pose.
The simplest way to make this pose is by downward bending facing dog posture. You can begin making Pigeon Pose by bending knees and hands forward to the direction.

- Remaining in a downward facing dog, take your right leg upward and make a down split dog pose.
- Now bend right knee, bring your leg forward like making a walking lunge. Unlike lunge pose, fold your right knee as you bring your right leg forward.
- Your right shin will become at an angle back at your left hip and keep it parallel to the mat, depending on the range of your motion.
- Next, release the left knee to the yoga mat. Make sure the left leg should remain flat to the floor.
- Now take a look at your back and make sure to point your left foot straight at the back.
- Your hips should be square in front of the mat.
- To make pose comfortably, you can use padding or a folded blanket and put it under the right side of the hip.
- When you feel stable, bring your torso in a forward bend position and make a comfortable pose.
- Balance your weight on both sides and keep your hips square in the best manner as you can.
- If you are feeling intense pressure, you can use a folded blanket and place it where you feel uncomfortable.
- Now slowly touch your head to the floor.
- Continue to square your hips and take a breath where you feel tightness.
- Now come back in a released position and bring your hands line with hips.
- Repeat the same process with your left leg, and your one complete pigeon pose is done.
READ MORE: Hot Yoga Dress Code
Benefits Of Pigeon Pose
- This pose or asana works as the forward bend and hip opener, stretching thighs, back, groin, psoas, and piriformis.
- When you extend your leg to rear, you stretch your psoas and hip flexors on one side. On the other side, your outer hip and rotators get stretched to muscles.
- It is a perfect pose or asana for those people who have to sit in a single posture for a long period, like sitting in the office for a long time.
- This pose will make your body ready for backbends and seated posture for a long time.
READ MORE: Physical and Mental benefits of Yoga
Mistakes While Performing Pigeon Pose
In order to do this, pigeon pose correctly and bring out more benefits from it, you have to avoid these common mistakes.
- While staying in this pose, your rear leg should remain in the neutral position, instead of rotated outward.
- Correct this pose by keeping toes inward and little lift thighs to adjust and come in a square hip position.
- Make sure not to collapse the hip by bending your knee.
- Your hips should remain in a square position.
- You can use a blanket if you are a beginner.
Precautions
In case you have a knee injury or any kind of hip bone and joint problem, then you should avoid doing this pose. Take care that you do not feel any stress on your knees while doing this pose.
You can feel scratch and rotation of the femur in the hip socket, but there should not be any pain in that area. If so, then stop doing this Pigeon Pose. Otherwise, it may cause severe hip joint problems.
Variations In Pigeon Pose
This is an easy pose, and you can modify it according to your body needs. You can bring more tight stretch or can keep this pose a little more modest.

Do Modifications To Make It More Comfortable
READ MORE: Sleeping Pigeon Pose
You can take some extra steps to make this pose more comfortable and easy to do.
- You can keep a folded blanket under your but to make your hip remain in a square position.
- Make sure to evenly distribute weight on your both hips and keep in a square and parallel to the ground. Otherwise, it will lay more stress on the knee and may twist the sacrum.
- In case you find the forward bend is difficult to do, then you can place your hand under the forehead.
- At the beginner level, you can use props so that you can remain in a relaxed position while forward bending.
Pro Tip
In case you find Pigeon Pose or Eka Pada Rajakapotasana is a difficult or not useful asana to you, then you can try Eye of the Needle pose or Succi Randrasana, it will be the best substitute for it.
Make It More Challenging
As you easily do this pose, you are ready to take some extra challenges and make it more complicated by taking further steps.
- Remain in that position and lift your right arm pointed towards the sky.
- Mermaid Pose: To make this pose, you need to bend your left knee and take it to your left foot using your left hand.
- Now hook the left leg top in between the bend of the left arm.
- Next, clasp the right arm and hold the fingertips of the left hand.
- Remain in this position for a few seconds initially and then gradually increase the time up to 3 minutes.
- One Legged King Pigeon Pose: To do this pose, bend the left knee and touch left foot with the left hand. It is in a way like the elbow of the left hand pointing towards the sky.
- Repeat the same process with your right side parts of your body.
Recommendation
What’s the Best Time of Day to Do Yoga?
What is an Innie and Outie Vagina?


