
How To Grow Microgreens Without soil?
Ever wondered how to grow microgreens without soil? If yes, then you have come to the right place. Whether you’re a seasonal plant lover or a forever plantsman looking for new ideas, we’re here to help you decorate your own small garden with young vegetable greens, called microgreens.
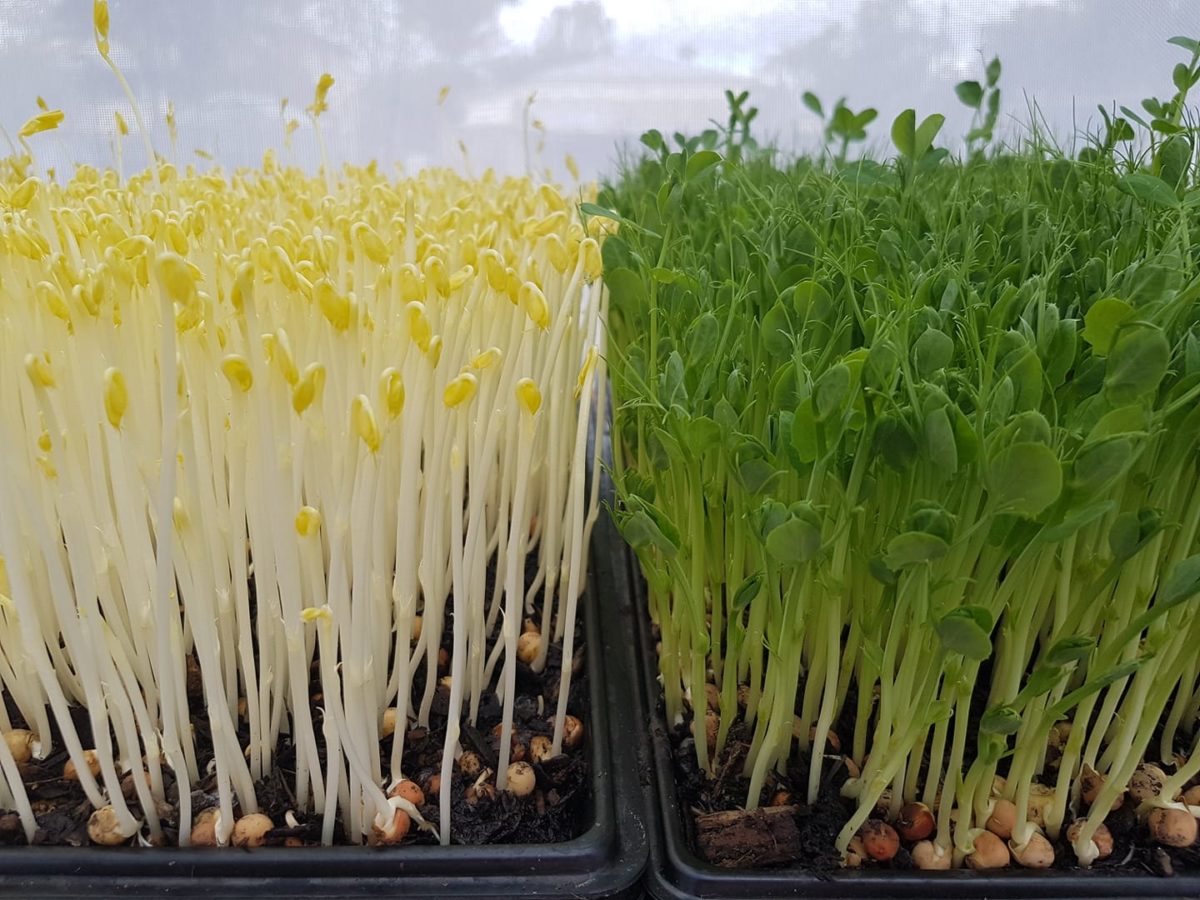
Microgreens are smaller versions of your favorite big green plants. Nowadays, microgreens are becoming more and more popular as they not only make your garden look beautiful, but they come with several other benefits too. The very interesting thing about microgreens is that they can be grown with or without soil.
Even if you do not have space or time for gardening, you can still grow microgreens at home in any climatic conditions. Surprisingly, growing microgreens without soil is a very easy way to enhance the look of your house and gardens. So, let’s have a look at some ways to grow microgreens without soil.
Why grow microgreens hydroponically instead of using soil?
Before we get onto the way to grow microgreens hydroponically, let’s look at some of the advantages of having a microgreen in your garden grown hydroponically instead of using soil.
Year-round growth
If you want to grow the microgreens inside your house, then hydroponic is the best way because it allows you to grow the microgreens year-round, irrespective of the climatic conditions.
Maximizes space
The hydroponic method requires small space to grow microgreens. You can grow them in the basement, garages, balcony, or anywhere in the house, and thus help you to create your small planting area wherever you want.
Uses less water
With the hydroponic method, the water requirement reduces drastically as compared to growing microgreens using soil. Around 20% more water is required to grow microgreens with soil.
Bye-bye mess
It is easy and not very messy to use the hydroponic method. While growing microgreens with soil, regular change of soil from time to time is required, which causes a lot of dirt in the house. Instead of this, with the hydroponic method, you can grow your microgreens mess-free.
Read more- Grow A Beautiful Hibiscus Flower In Your Garden
Grow your own microgreens
Looking at the above advantages, who wouldn’t like to have microgreens grown hydroponically. So, let’s have a look at the steps required to grow your own young microgreens.
STEP-1: Gather all the supplies
By growing microgreens hydroponically means growing them in an aquatic-based environment. Therefore, in this case, microgreens would be receiving the required nutrients and oxygen from water instead of soil. To be ready, let’s gather all the supplies needed to grow microgreens hydroponically.
Seeds
The first and foremost thing is to buy good microgreen seeds. Since microgreens are not regular plants, they cannot grow from regular vegetable seeds, so make sure to buy microgreen-specific seeds.
Growing medium
Since we are not using soil to grow microgreens, we need another way to keep the seed in its right place all the time while sprouting. Mediums provide support to the roots to grow microgreens. Some of the mediums are:
- Coconut coir
Using coconut coir is one of the cheapest mediums. Put coconut coir in a jug or bucket and add some water. Then stir and mix it well till the mixture converts into a soil-like consistency. Leave the mixture for 30-45 minutes. After that, remove the excess water, and the medium is now ready to grow microgreen.
- Vermiculite
Vermiculite is made up of natural minerals and is light in weight. It has a good water retention capacity. Vermiculite prevents the medium from turning in waterlogged. It is an approved growing medium for many plants.
- Clay stones
Clay stones can also be used to grow microgreens. It become porous when mixed with water and thus hold the water and air to provide it to the microgreen.
- Hemp growing mats
Hemp growing mat is the best option available to grow microgreen. It provides nutrition to the seed. Using hemp-growing mats is the easiest way. You just have to moist the mat with a sprayer, and it is good to be used. However, Hemp growing mats are the most expensive way to grow microgreens out of all.
Growing trays
To grow microgreens without soil, a big tray is a must. The growing tray is used to place the growing medium properly to grow the microgreen. Various varieties of the tray are available in the market. For growing microgreens, a tray with a depth of around 1.5-2.0 inches is preferred.
Growing lights
The first stage of growing microgreens hydroponically is to germinate the seeds, to help the germination process, you need to provide growing lights to the microgreens for the photosynthesis process after 4-5 days.
For growing light, you can use direct sunlight, or any LED grow light can be used to serve the purpose.
pH testing kit
To grow the microgreens hydroponically, a regular check of the pH of water from time to time is necessary for the better health of the plant as it affects the growth of microgreens.
The recommended water pH for growing microgreens is six. To check the pH of water regularly, a pH testing kit is required.
Nutrients and fertilizers
As we all know, nutrients are a must for the growth of any living organism; we need to use good nutrients or fertilizers for the better growth of your microgreens.
Spray bottle
The spray bottle is the best way to provide water to the microgreens. After using the bottle, make sure to clean it because bottles might contain some dangerous chemicals that can harm the microgreens.
STEP-2: Plantation
After getting all the supplies, let’s move towards the steps to grow microgreens without soil:
Quality water
The quality of water matters a lot in the hydroponic method. Rain and distilled water are best to grow microgreens without soil, but if distilled or rainwater isn’t available, then tap water can be used after boiling it.
Use the Ph kit to identify the pH of the water and adjust it. To raise the pH of water, ash, lemon drops, or phosphoric acid can be used to maintain the pH to be around six.
Along with this, make sure to use a spray bottle to give water to the microgreens.
Fill the trays with medium.
First, prepare the medium across the trays. Spread the coconut coir or any of your preferred mediums in the tray properly so that the surface becomes plain.
If you are using a mat, then use only one mat; it does not require more than one mat.
Plant the seed
Take two or three spoons of seeds and spread the seeds across the tray with a growing medium. Keep notice of the fact that there shouldn’t be any spots and large lumps of seeds in a single place.
Microgreens do not require large space to grow, so they can be kept anywhere in the house or gardens.
Maintain moisture
After spreading the seeds across the tray, keep the seed and the medium moist.
As previously mentioned, using a spray bottle is the most preferred way to maintain moisture.
Germinate the seeds
Microgreens take around 4-5 days to germinate. At the time of summer, keep the microgreens in the dark area.
After five days, the process of germinating begins, and the seed starts sprouting, so use the LED light or put the microgreen in the direct sunlight to help the germination process.
Keep under grow lights
After sprouting, microgreen requires a dry and soak method.
The dry and soak method includes putting the sprout in water for 10-15 minutes and then removing it, and letting the microgreen dry. This should be done on a daily basis for the better growth of microgreens.
Wait for harvest
It requires around two weeks after the sprouting of microgreens. Till that time, only use the dry and soak method.
In the 3rd week, small leaves will start appearing on the top of the microgreens. At this point, it is important to harvest the microgreens. For harvesting, you need a pair of scissors to cut the microgreen but keep in mind to cut the stems only, not the roots. It provides nutrition and freshness to microgreens.
Read more- How to Care for Air Plant in the Best Way?
Most common microgreens to grow at home
Since microgreens are very easy to grow, they can be grown anywhere, whether inside or outside of the house, that’s the reason why microgreens are gaining more and more popularity these days. Here is the list of some very common microgreens that you can grow very easily in your place using the hydroponic method:
- Rocket microgreens
- Radish microgreens
- Broccoli microgreens
- Beetroot microgreens
- Parsley microgreens
- Garden cress microgreens
- Spinach microgreens
- Sunflower microgreens
- Pak choi microgreens
- Alfalfa microgreens
- Cabbage microgreens
- Corn microgreens
Microgreens provide the best nutrition if consumed fresh right after the harvest. You can also dry after washing microgreens and can keep them in the fridge for further use.
Benefits of microgreens
- Provides nutrients including Vitamin K and fiber, which helps in maintaining blood pressure and reduces the heart risk
- Reduces inflammation present in the body
- Prevents from cancer
- The best source to lose weight
- Microgreens are rich in beta-carbonates, which prevent eye diseases and diabetes.
- Some microgreens are quite aromatic, spreading freshness around the workplace.
Read more- Benefits of Having Indoor Plants
Bottom Line
Growing microgreens is the best and easiest way to start a healthy life. It has many nutrients and fiber, which provides many health benefits to the human body.
Since it can be grown anywhere like the kitchen, balcony, room, basements, or garden, thus it can be used to decorate your house or workplace.
Comparing microgreens with mature plants, there’s hardly any difference in the number of nutrients and fibers.
However, it is important to eat fresh microgreens. You should not store them for more than one day because, after one day, they start losing their flavors and nutrients. Thus, what can be better than growing these advantageous microgreens hassle-free and mess-free with the hydroponic method. Now, you have the complete guide on how to grow microgreens without soil, so what are you waiting for? Go and grow microgreens without soil to get its benefits easily and faster.